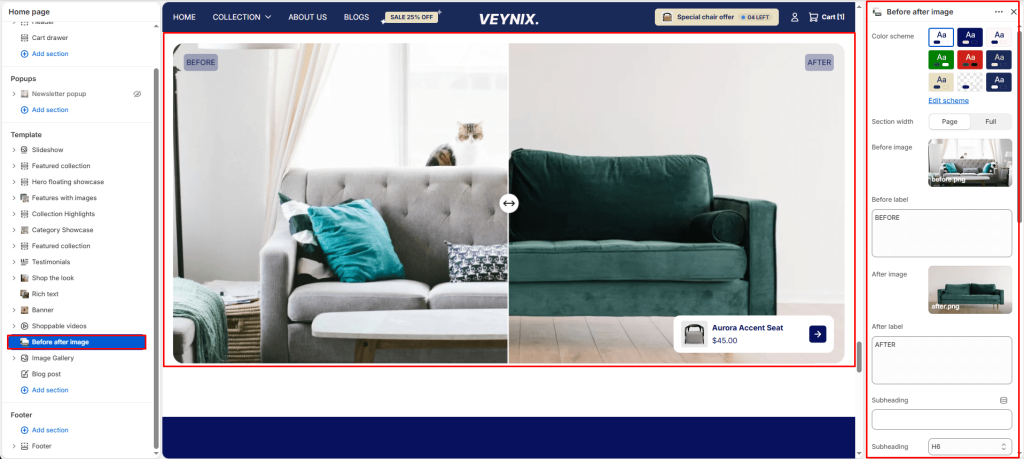
The Before / After image section lets shoppers drag an interactive slider handle across two overlapping images to compare a “before” and “after” state. It’s ideal for showcasing product transformations, renovations, skincare results, or any comparison-driven story.
Section Settings #
Color scheme #
Choose a predefined color scheme to control the section’s background, text, and accent colors, keeping it consistent with the rest of the theme design.
Section width #
Control how wide the section appears on the page.
Options:
- Page
- Full
Before image #
Upload an image to use for this element.
Before label #
Enter the text content to display. Supports multiple lines.
After image #
Upload an image to use for this element.
After label #
Enter the text content to display. Supports multiple lines.
Subheading #
A short label or eyebrow text displayed above the main heading.
Subheading size #
Control the font size of the subheading.
Options:
- H1
- H2
- H3
- H4
- H5
- H6
Heading #
The main heading text for this section.
Heading size #
Control the font size of the heading.
Options:
- H1
- H2
- H3
- H4
- H5
- H6
Text #
The body/description text for this section.
Text size #
Control the font size of the body text.
Options:
- H1
- H2
- H3
- H4
- H5
- H6
Link #
Set the destination link — this can point to a product, collection, page, blog article, or external URL.
Button label #
Enter the text content to display.
Button style #
Choose the visual style of the button.
Options:
- Primary button
- Secondary button
Top padding #
Add vertical spacing above the section content for better layout balance with the section above it.
Bottom padding #
Add vertical spacing below the section content for better layout balance with the section below it.
Show product overlay #
Toggle this feature on or off.
Product #
Select the specific product to feature.
Product position #
Choose one of the available options from the dropdown.
Options:
- Top left
- Top right
- Bottom left
- Bottom right